Pre-requisites
For this tutorial, you will need to complete (or have already) the following:
- 1 Creating a
GitHubaccount - 2 Download and install
GitHub Desktop - 3 Download and install
VS Code - 4 Creating a
MapTileraccount
Follow the instructions in the sections below to complete these pre-requisites.
1 Creating a GitHub account
If you want to learn more about Git and GitHub, we recomend the following tutorial.
Step 1
Go to github.com/signup
Step 2
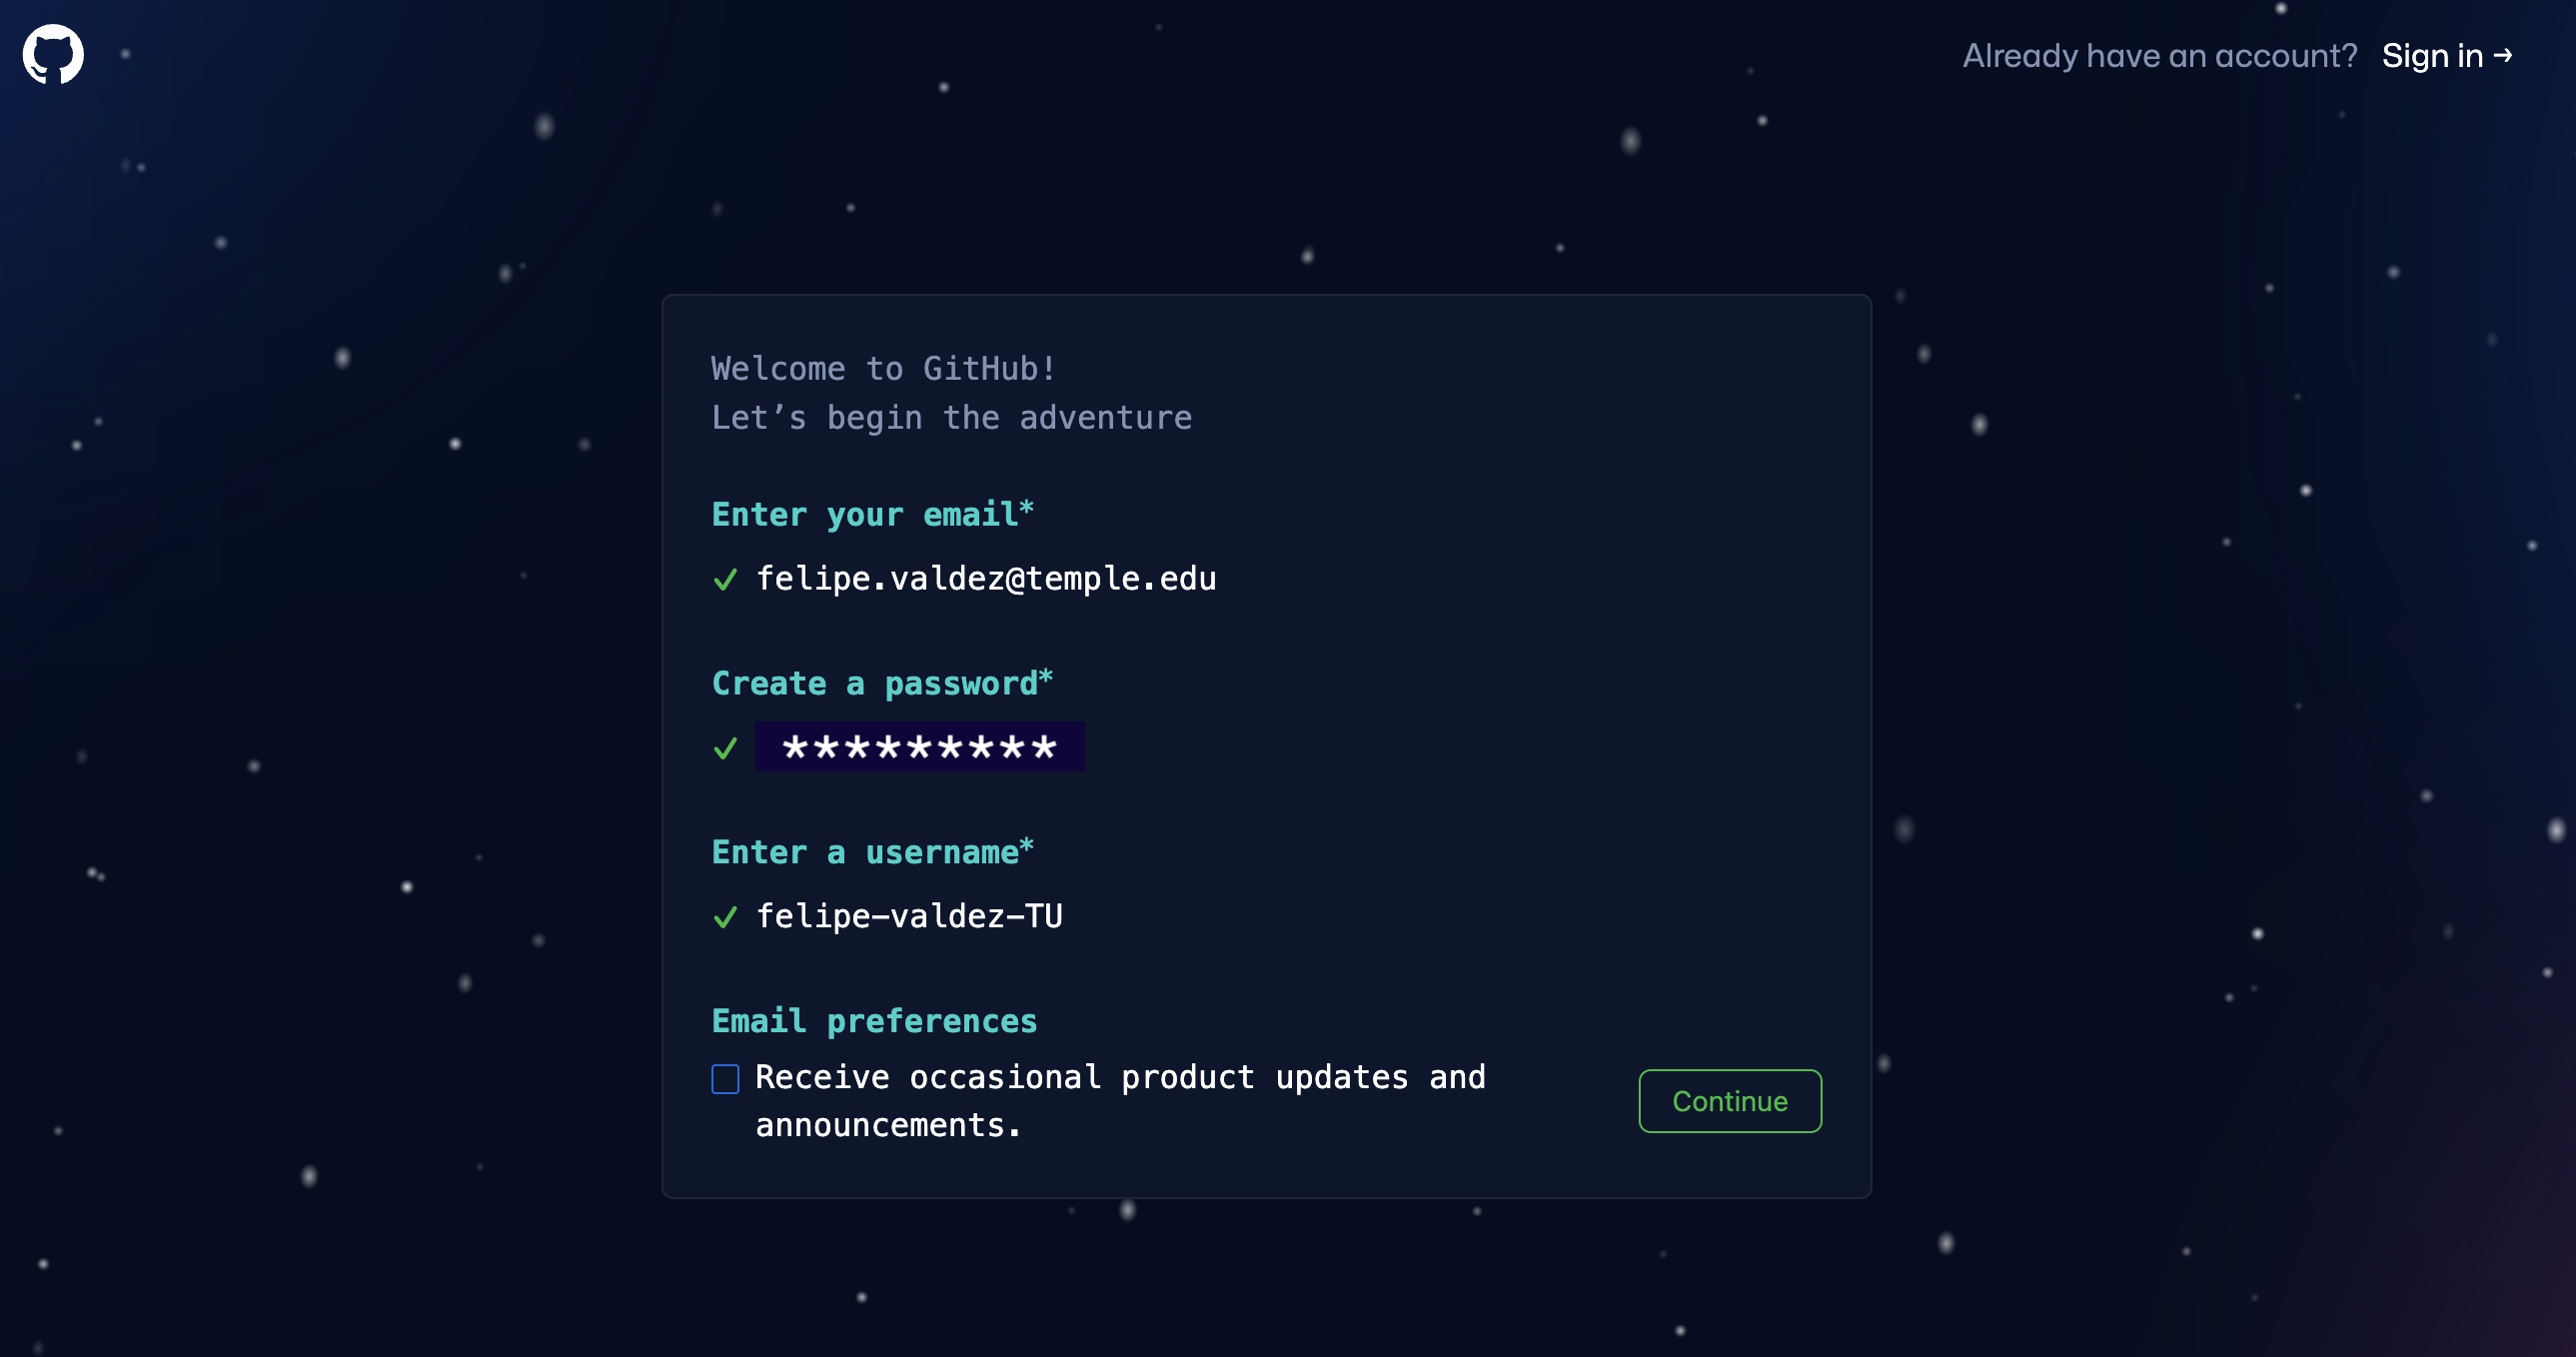
Write down your email address, a password and a username for your new account. Then click on Continue.
Step 3
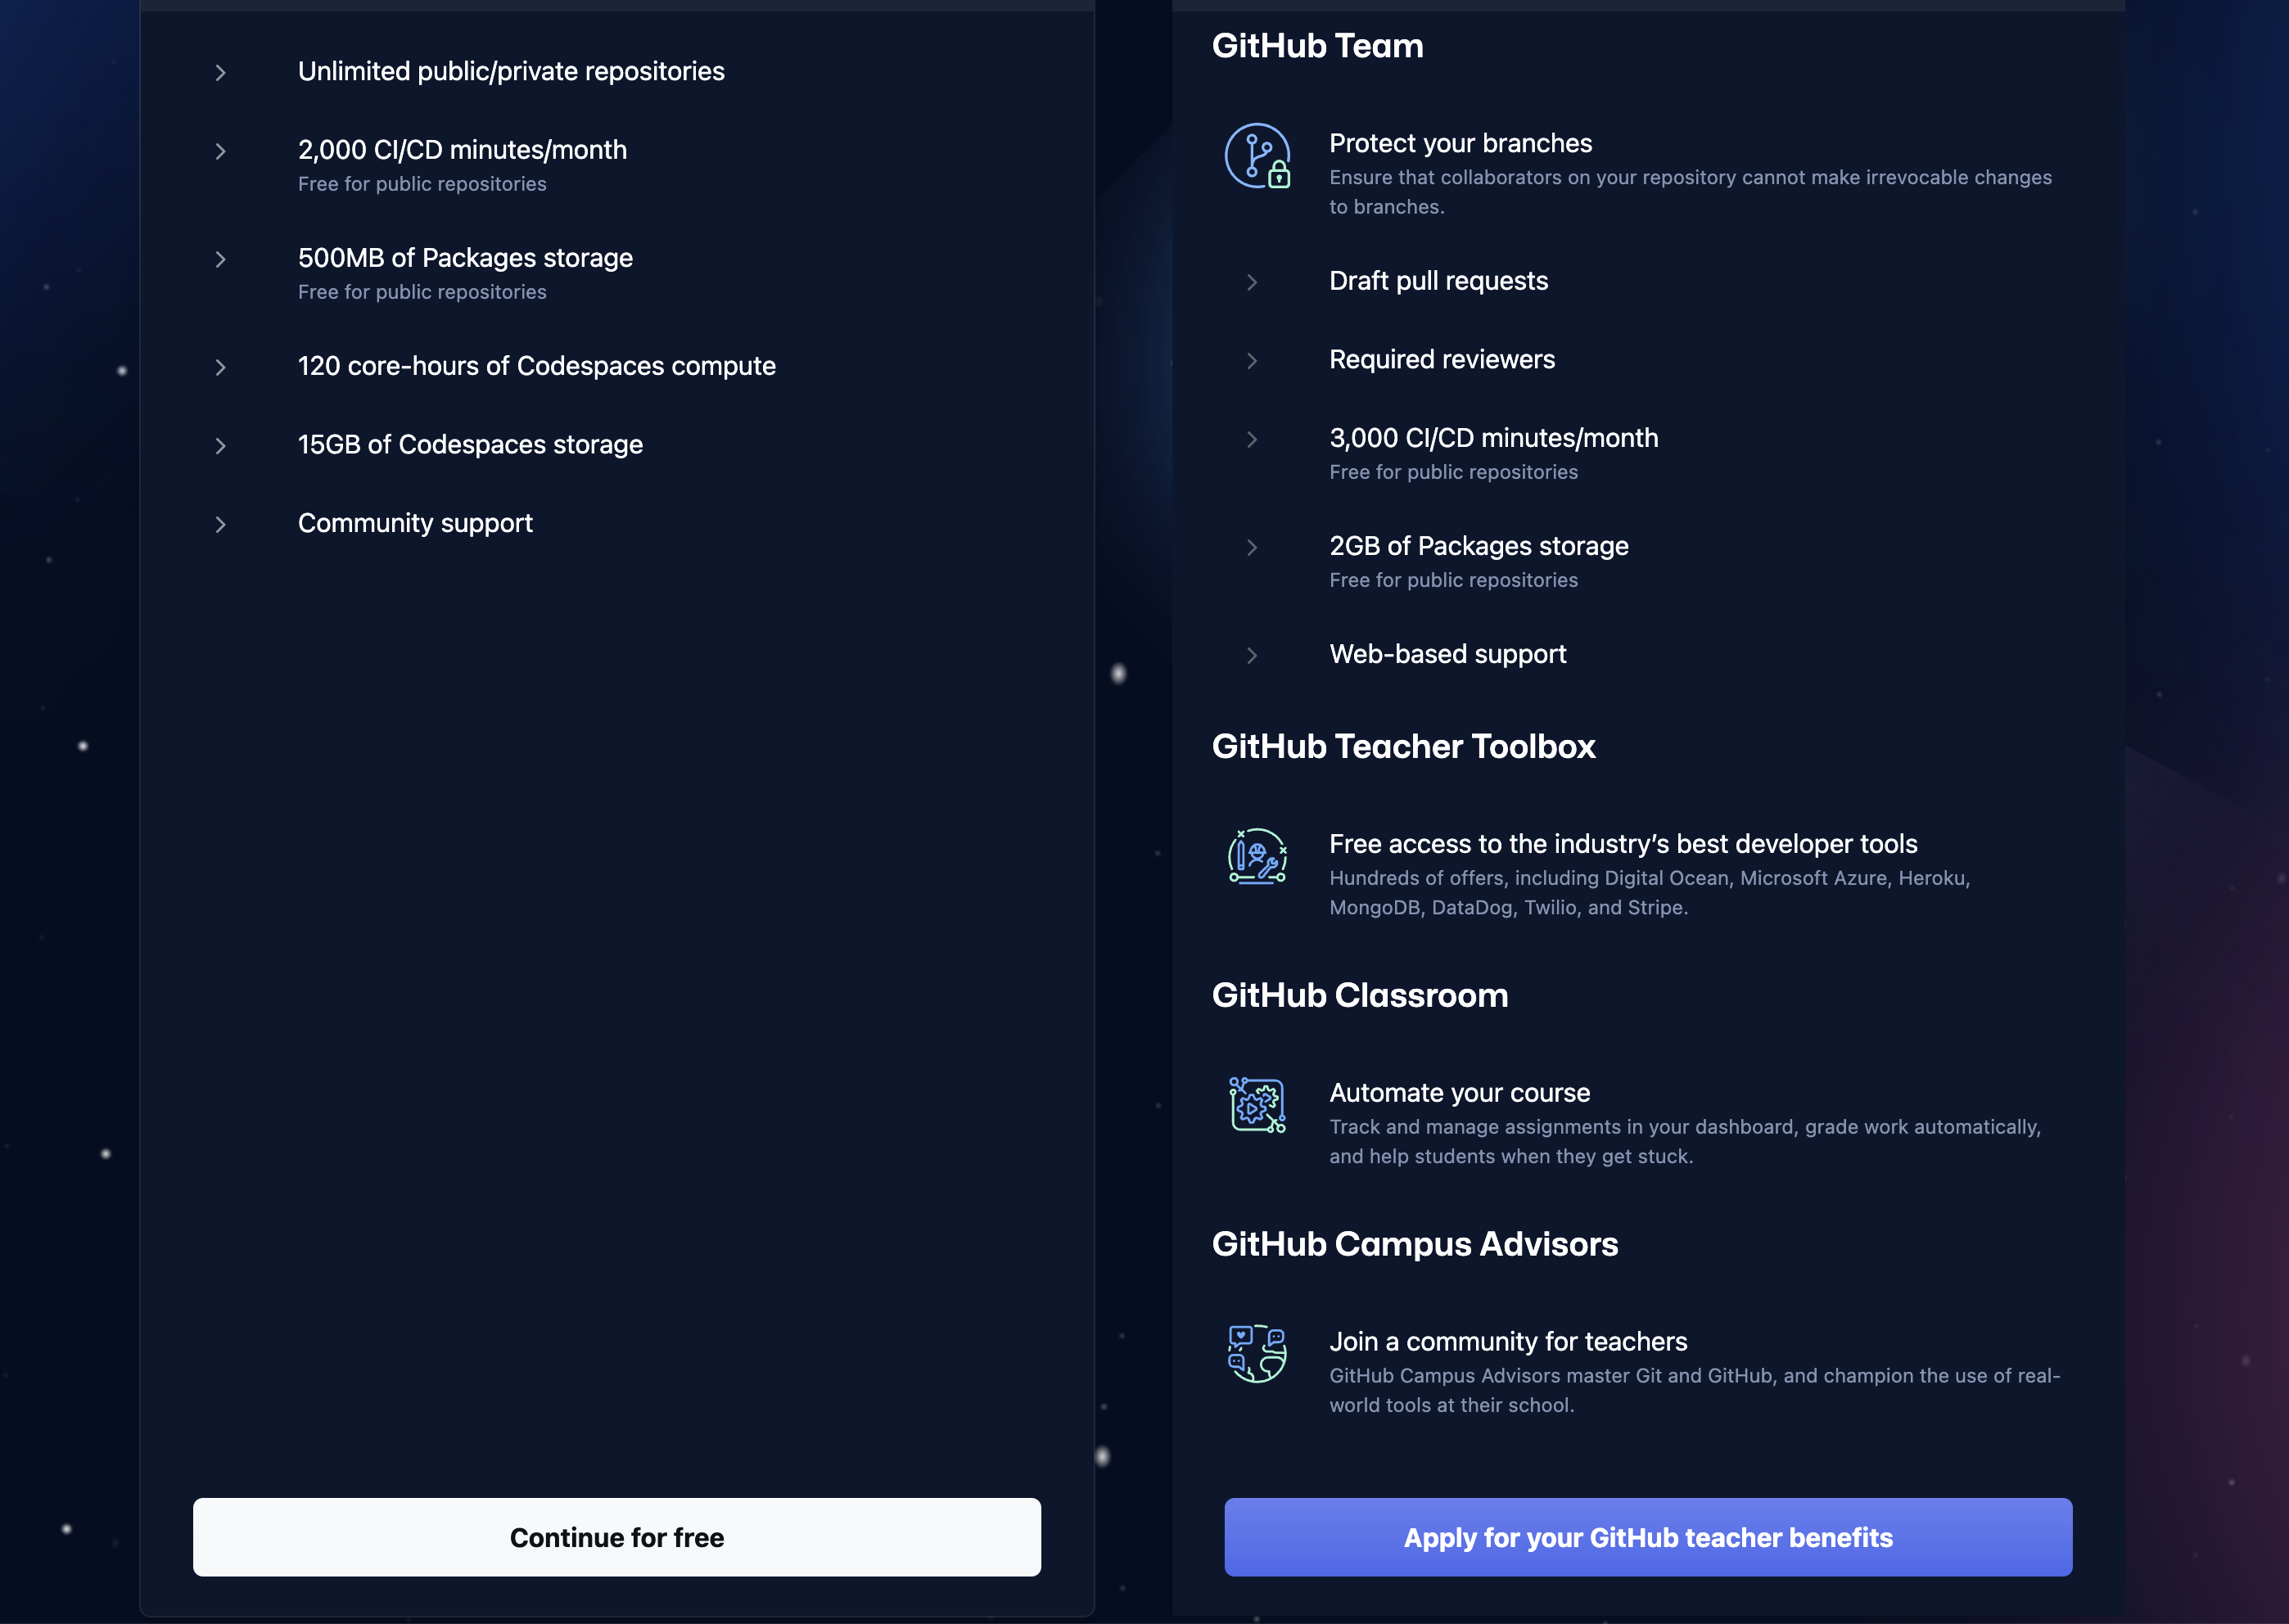
You will be asked a few questions. When prompted, be sure to select Continue for free on the type of account.
Step 4
You will receive an email with an activation code. Input the code when asked to in the GitHub webpage.
You are now ready to create your first repository.
2 Download and install GitHub Desktop
GitHub Desktop is a free, open source application that helps you to work with files hosted on GitHub or other Git hosting services. If you want to learn more about this application go here.
Depending on your computer operating system (OS), the following steps might seem a little different. In this workshop we used a MacOS but it can be done in any OS.
Step 1
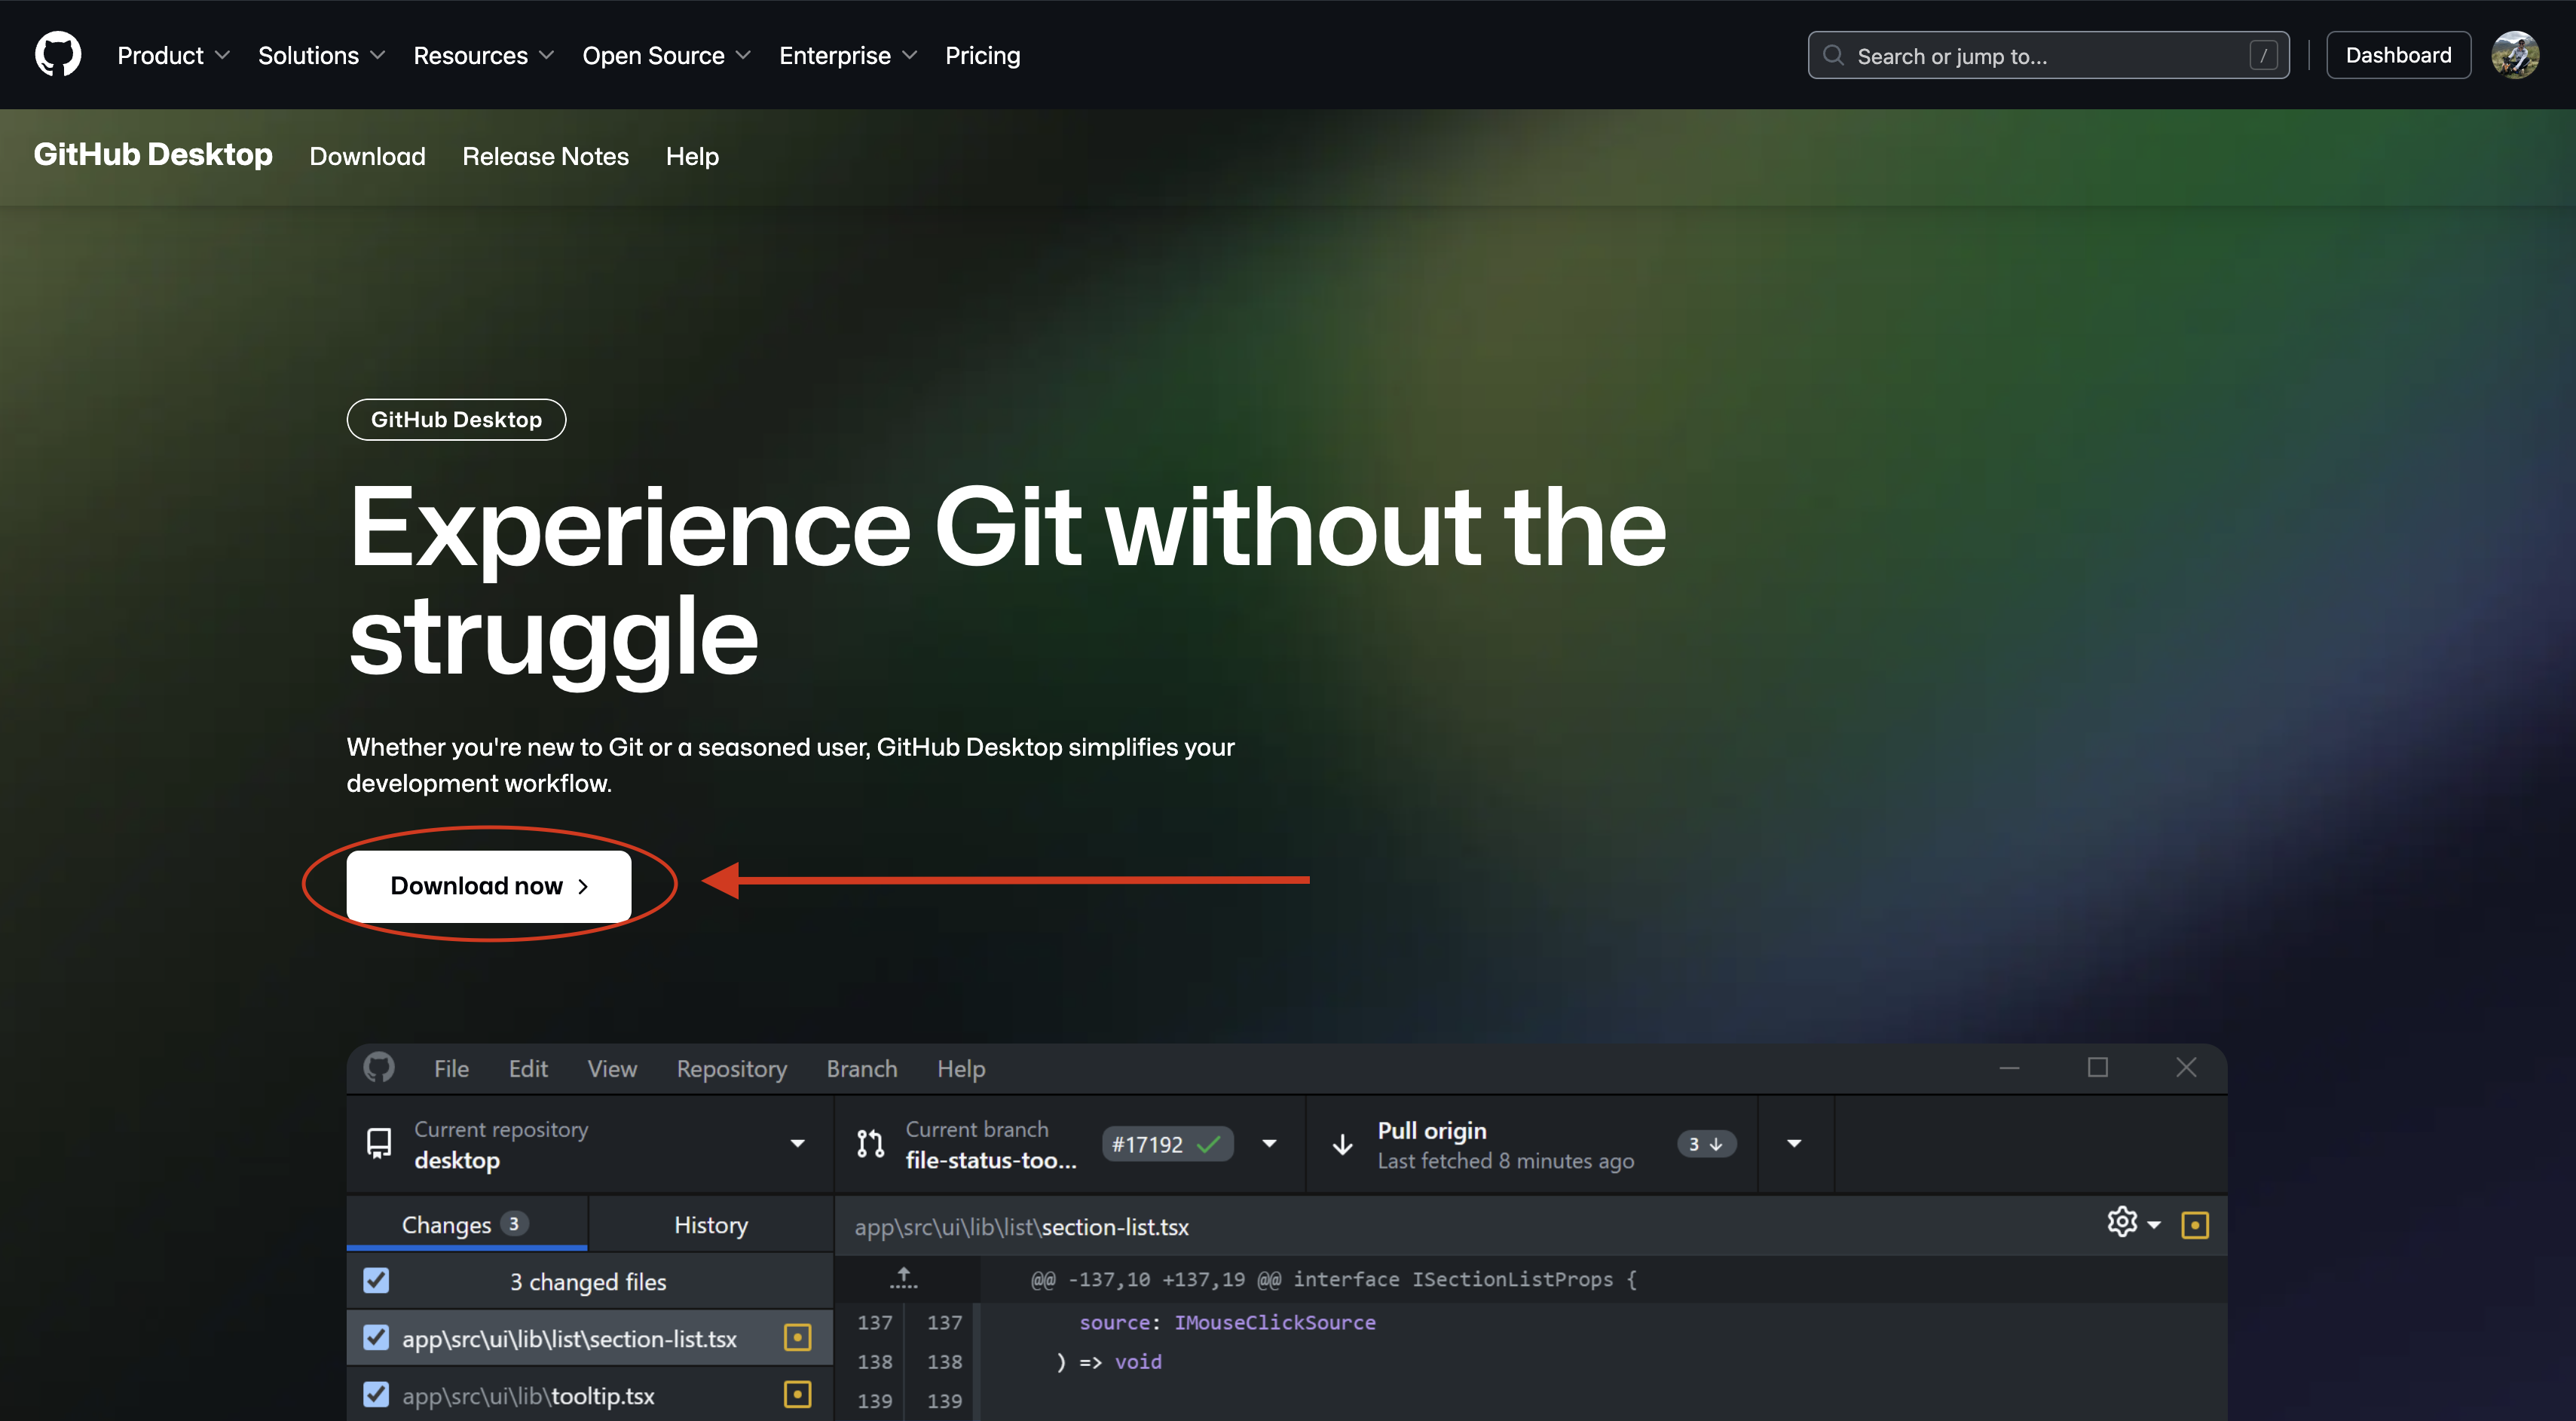
Signed in to yor GitHub account, follow this link to the downloads page and click on the Download now button.
Step 2
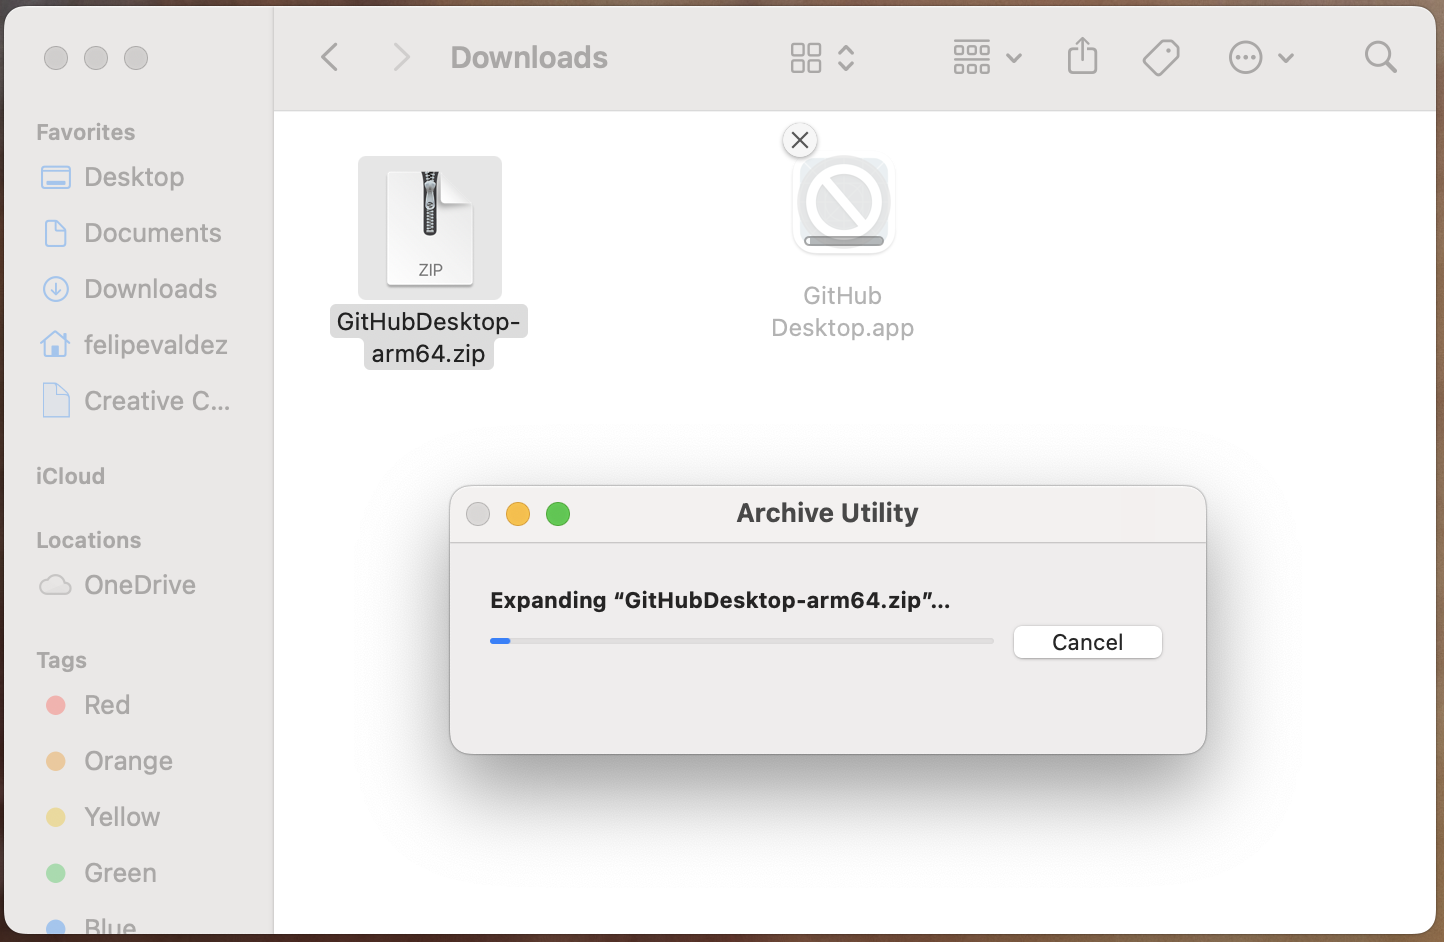
Once downloaded, you will find a new .zip file on your Downloads folder. You can simply double-click on it (or right click and uncompress file).
Step 3
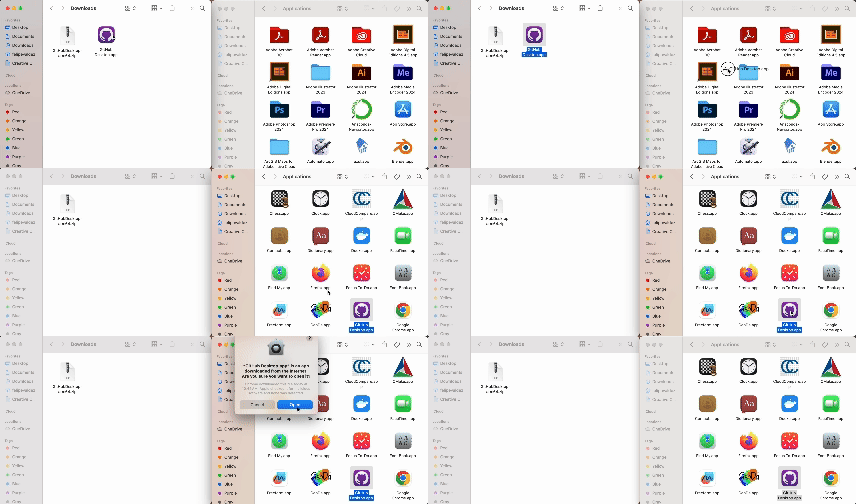
You will see the GitHub Desktop icon next to the downloaded file. Just drag the icon and drop it in your Applications folder.
Step 4
Double click on the GitHub Desktop icon to open the app.
The first time you open GitHub Desktop, you will see a message from your system asking permission to open the application. Just click on Open.
3 Download and install VS Code
Step 1
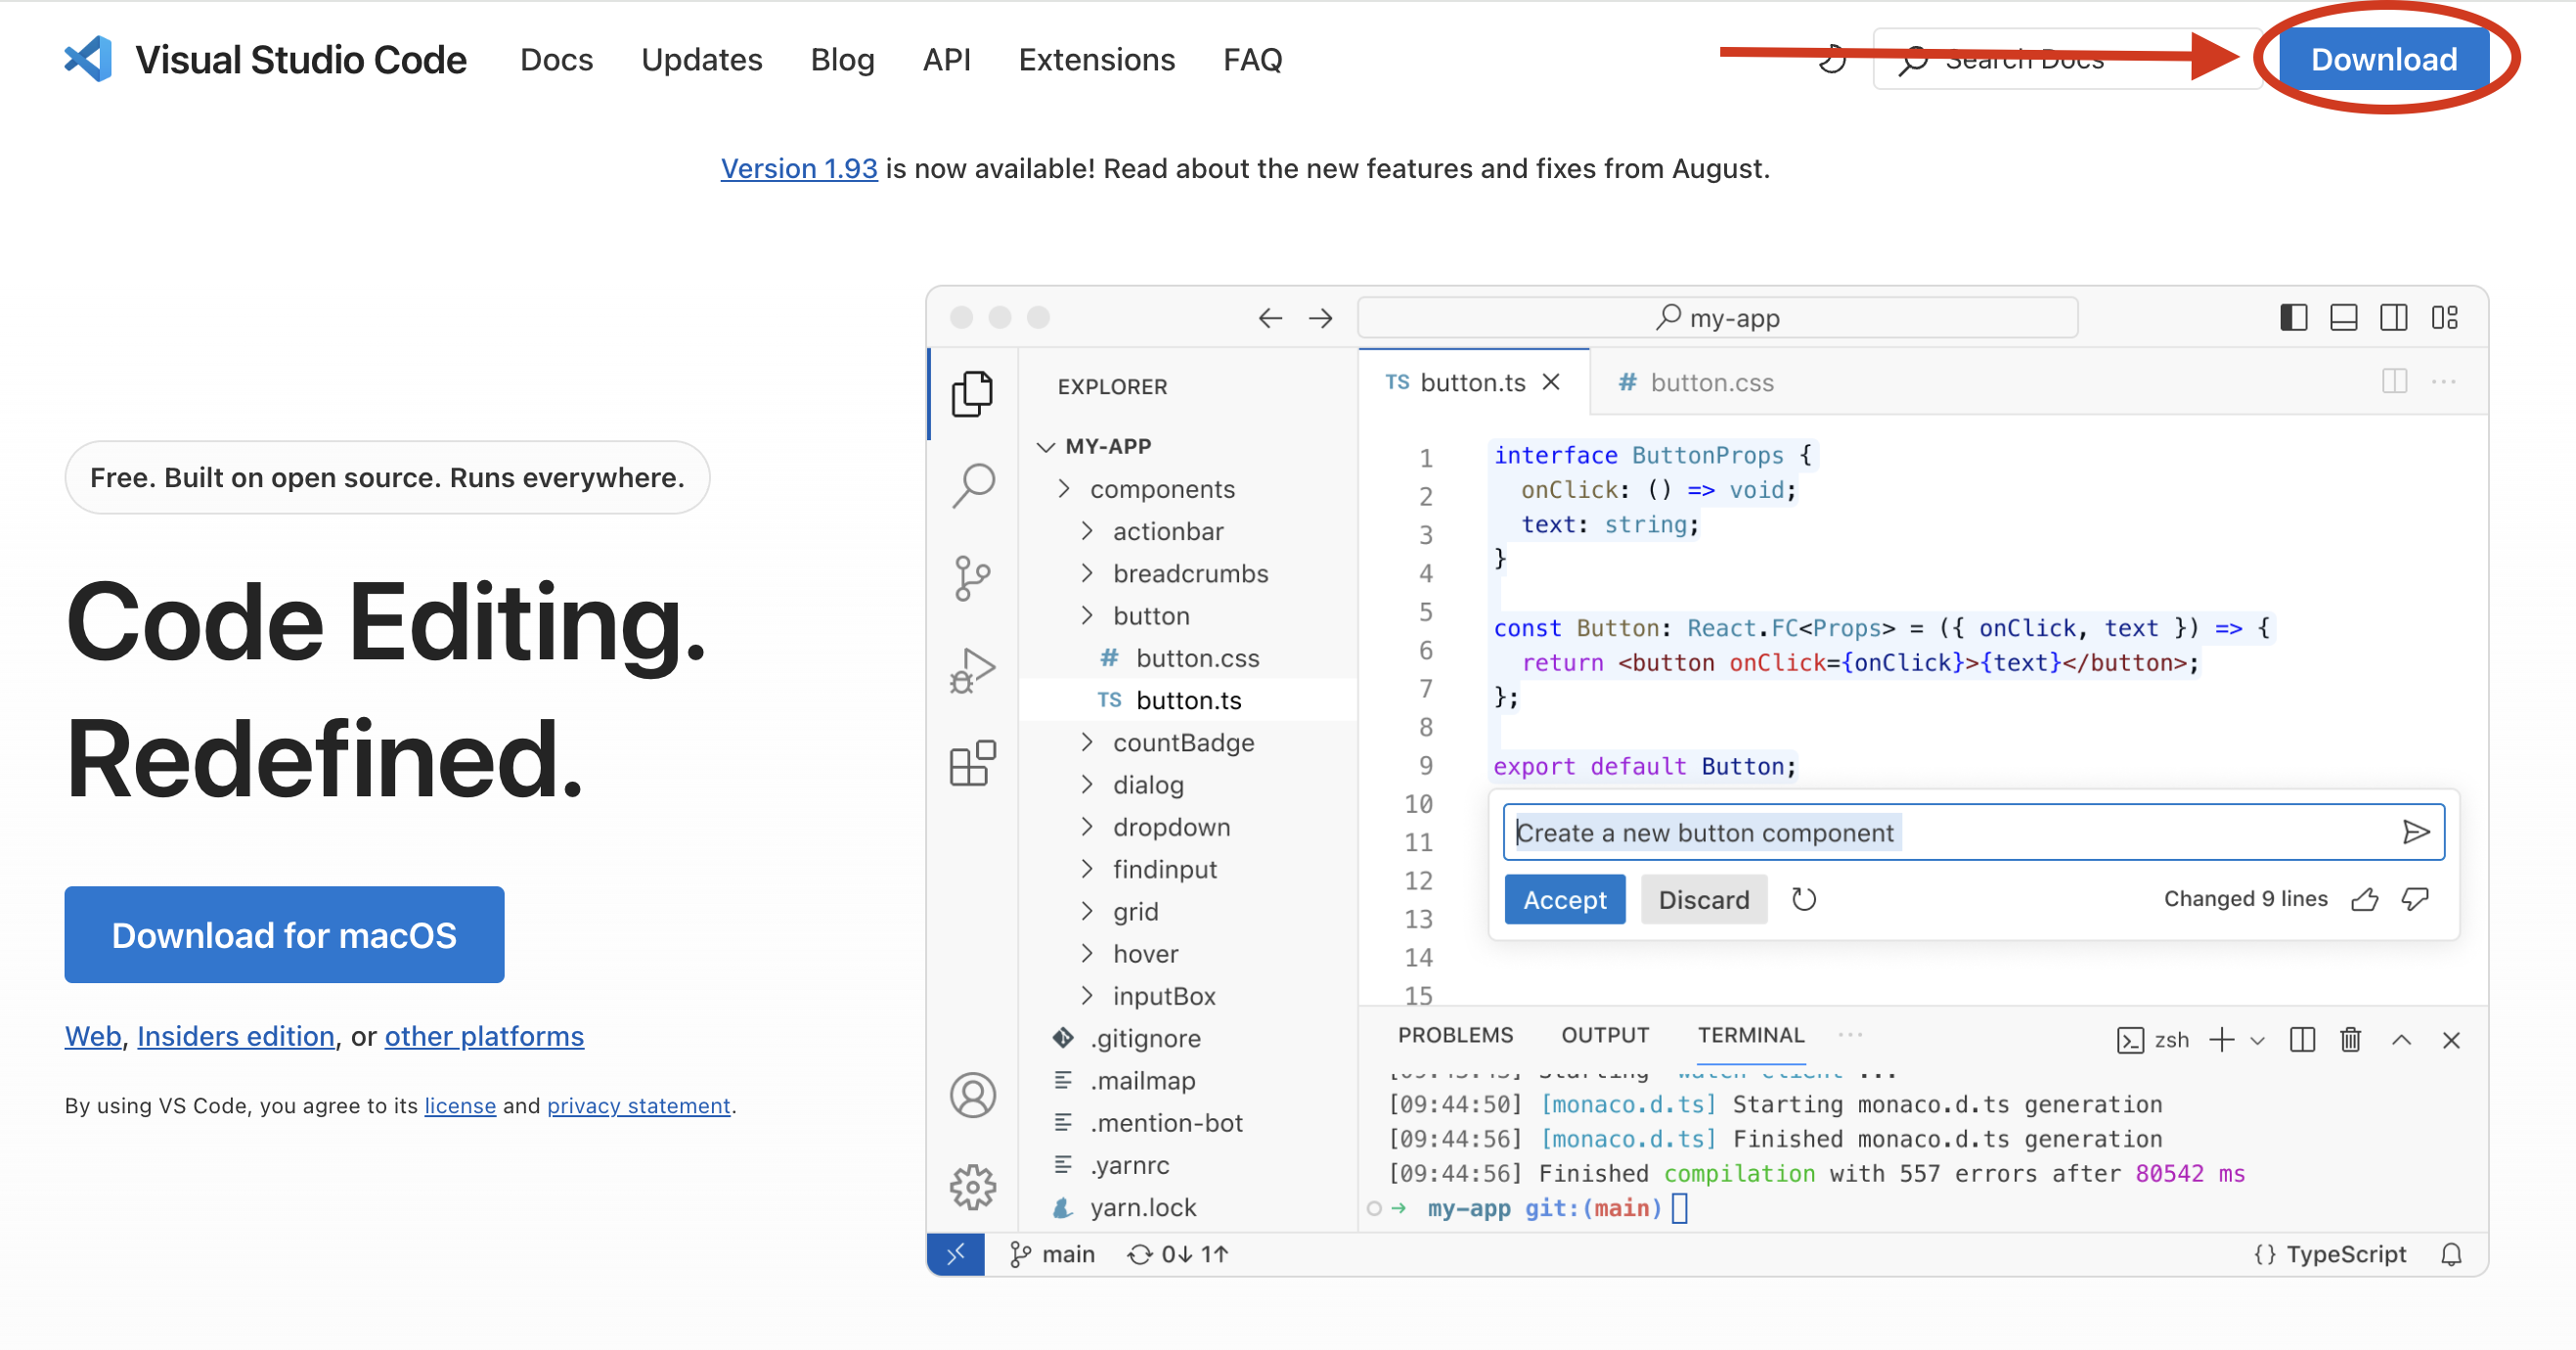
In your internet browser, go to code.visualstudio.com downloads page and click on the Download button on the top right corner.
Step 2
Select the appropriate installer for your computer operating system. In this case we re using a MacOS.
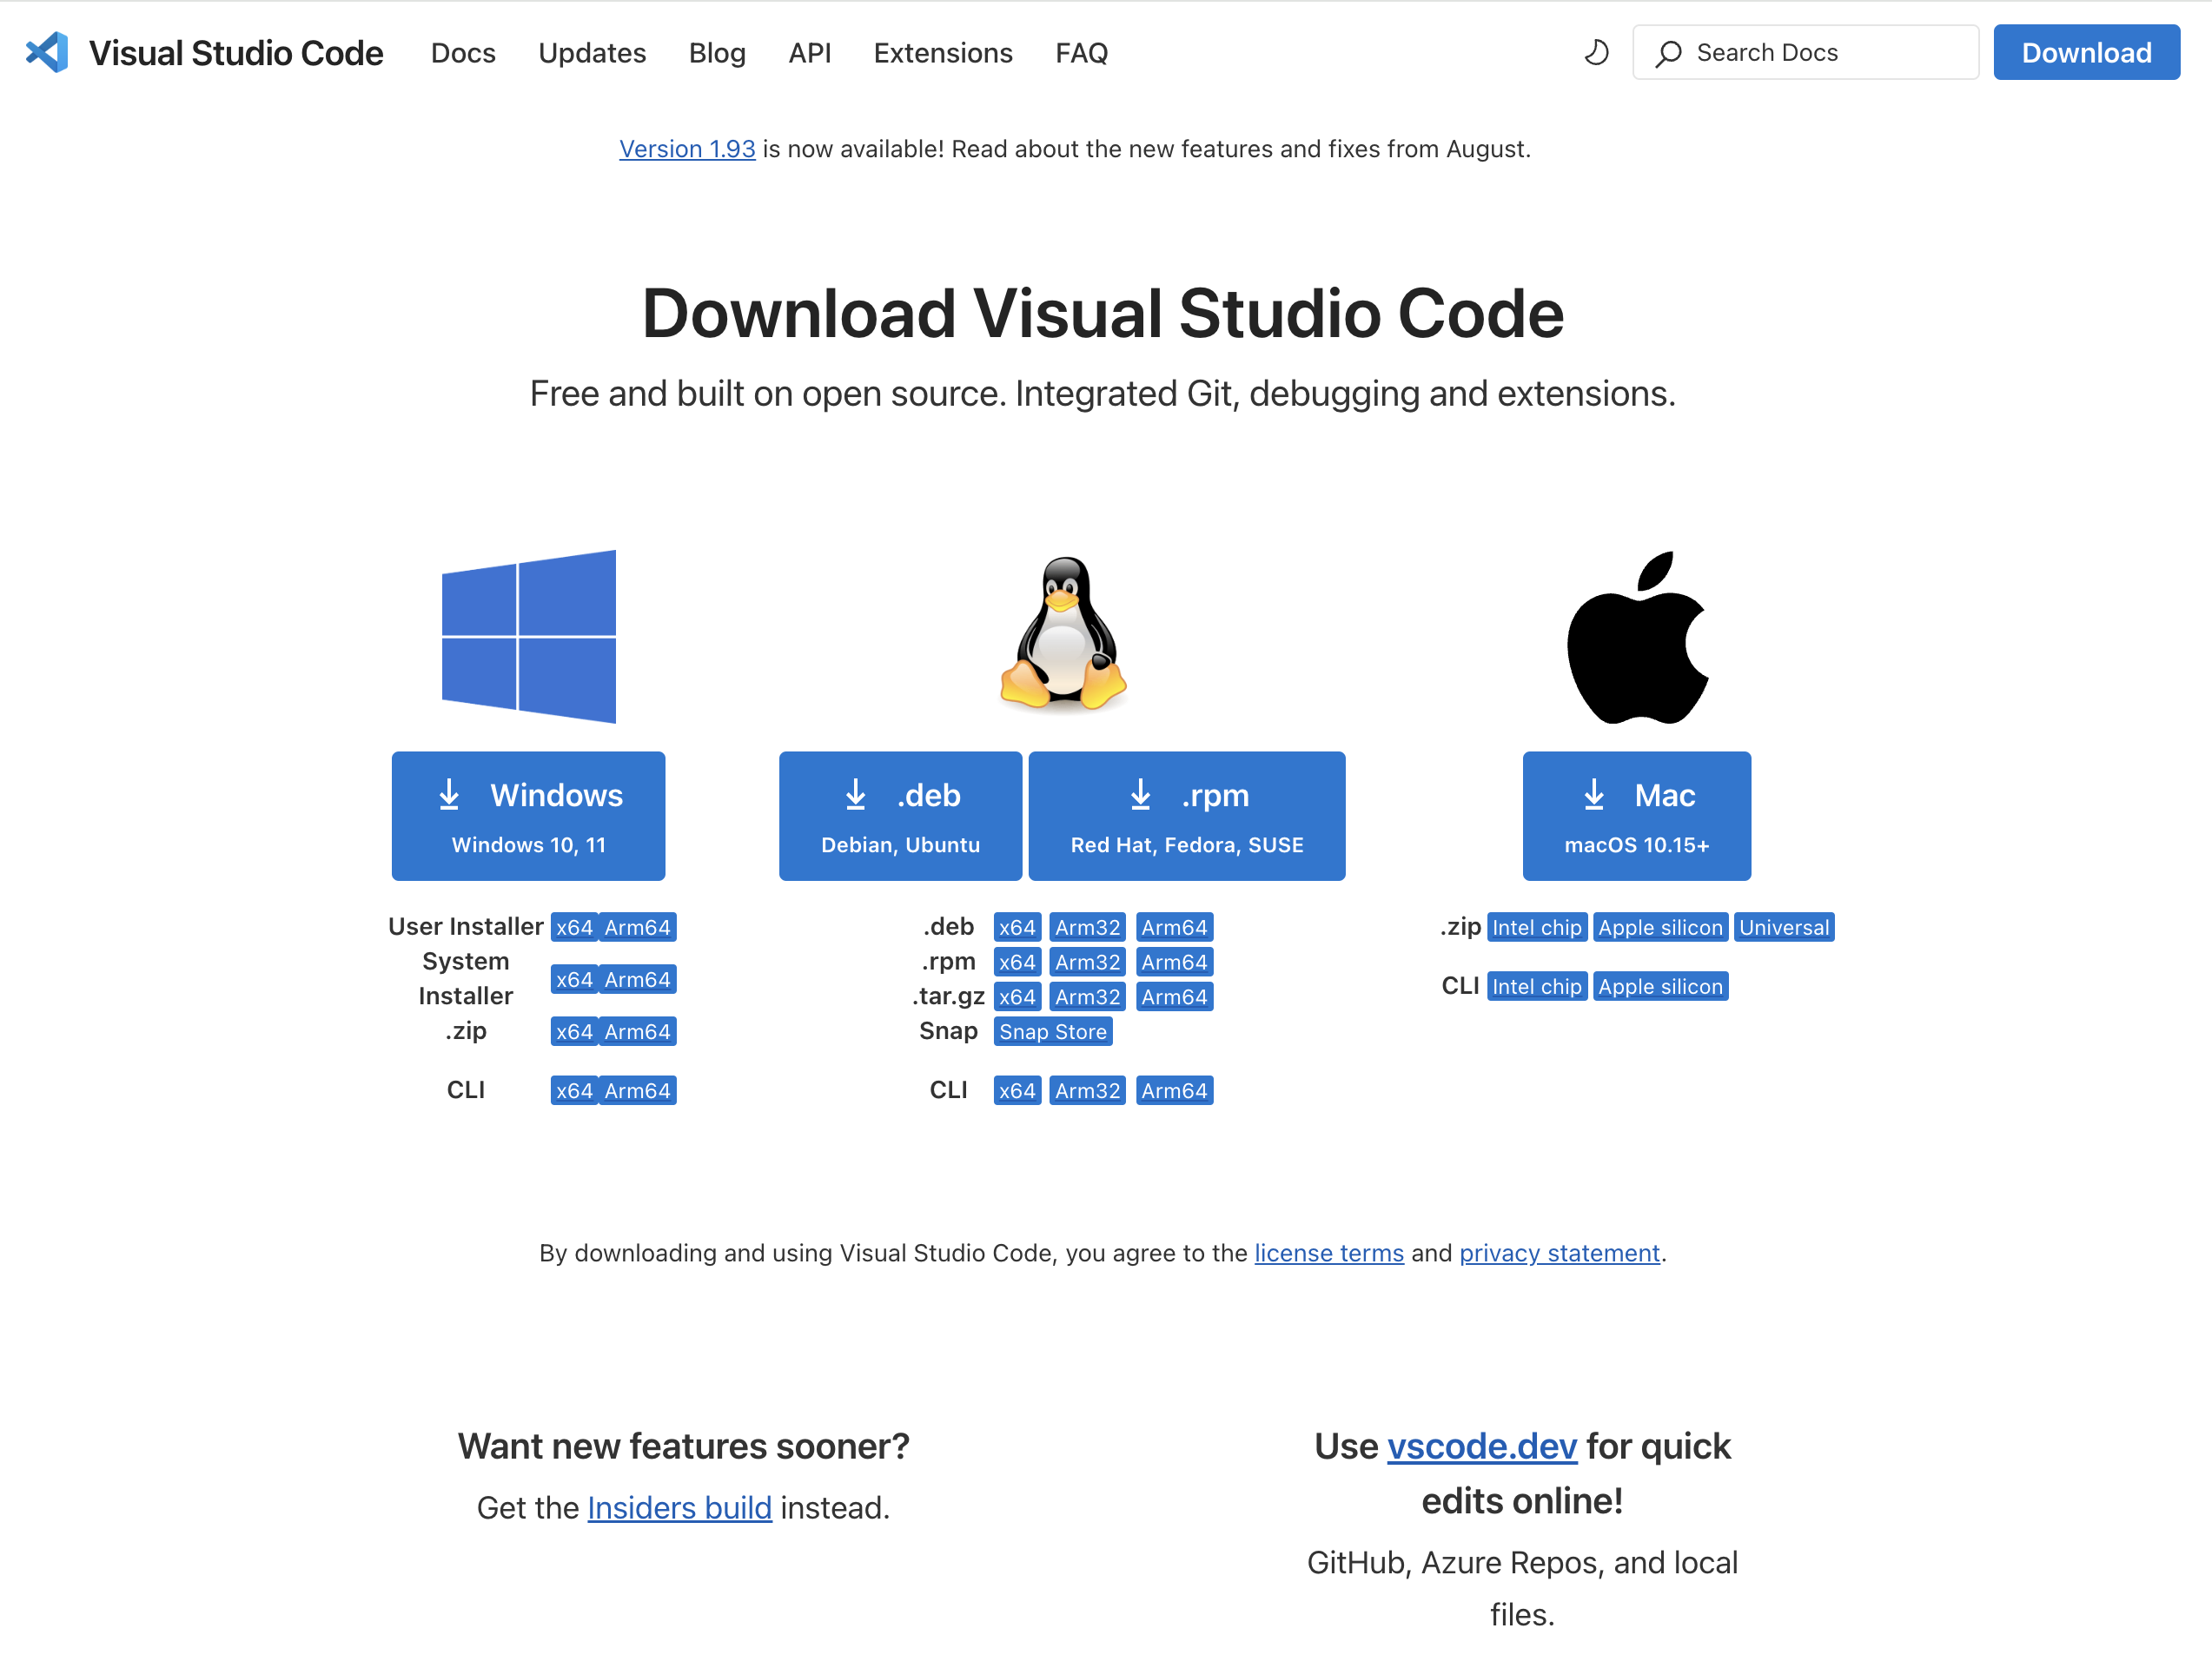
The download button on the main screen should point you to the correct version for your equipment.
Step 3
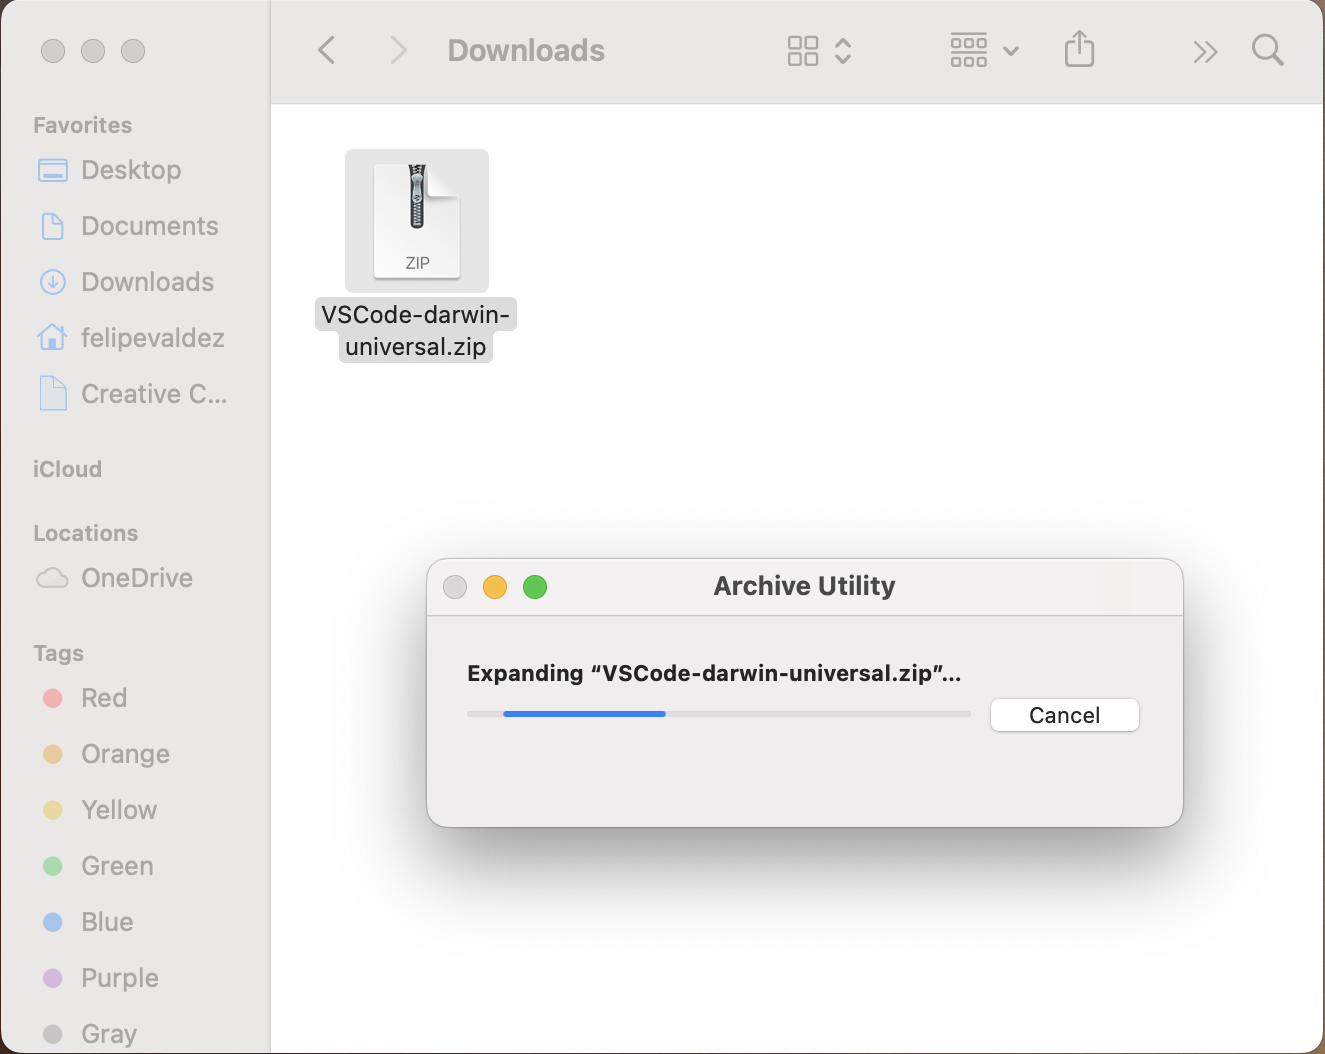
Once downloaded, you will find a new .zip file on your Downloads folder. You can simply double-click on it (or right click and uncompress file).
Step 4
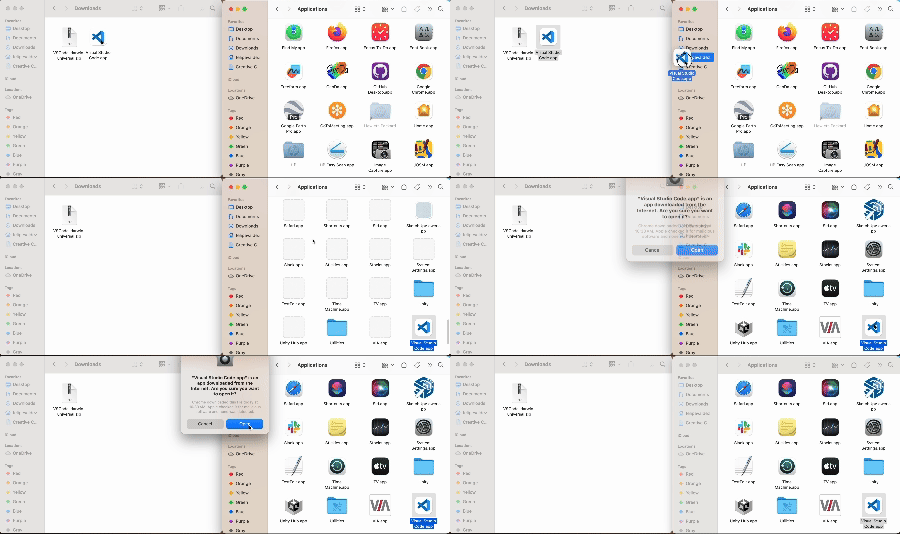
You will see the Visual Stusio Code icon next to the downloaded file. Just drag the icon and drop it in your Applications folder.
Step 5
Double click on the Visual Studio Code icon to open the app.
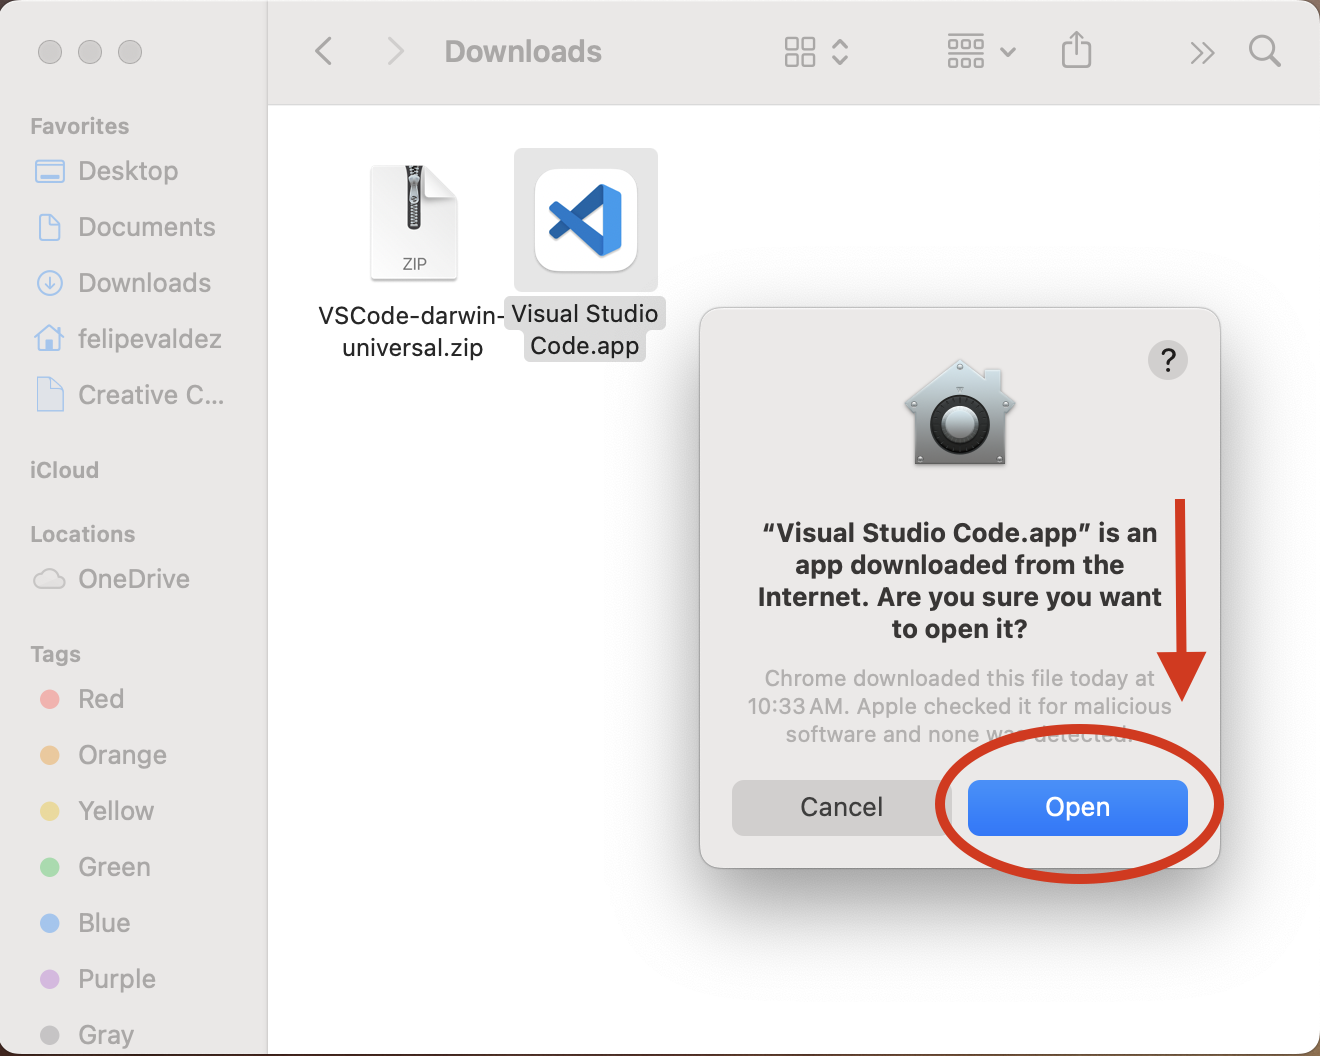
The first time you open Visual Studio Code, you will see a message from your system asking permission to open the application. Just click on Open.
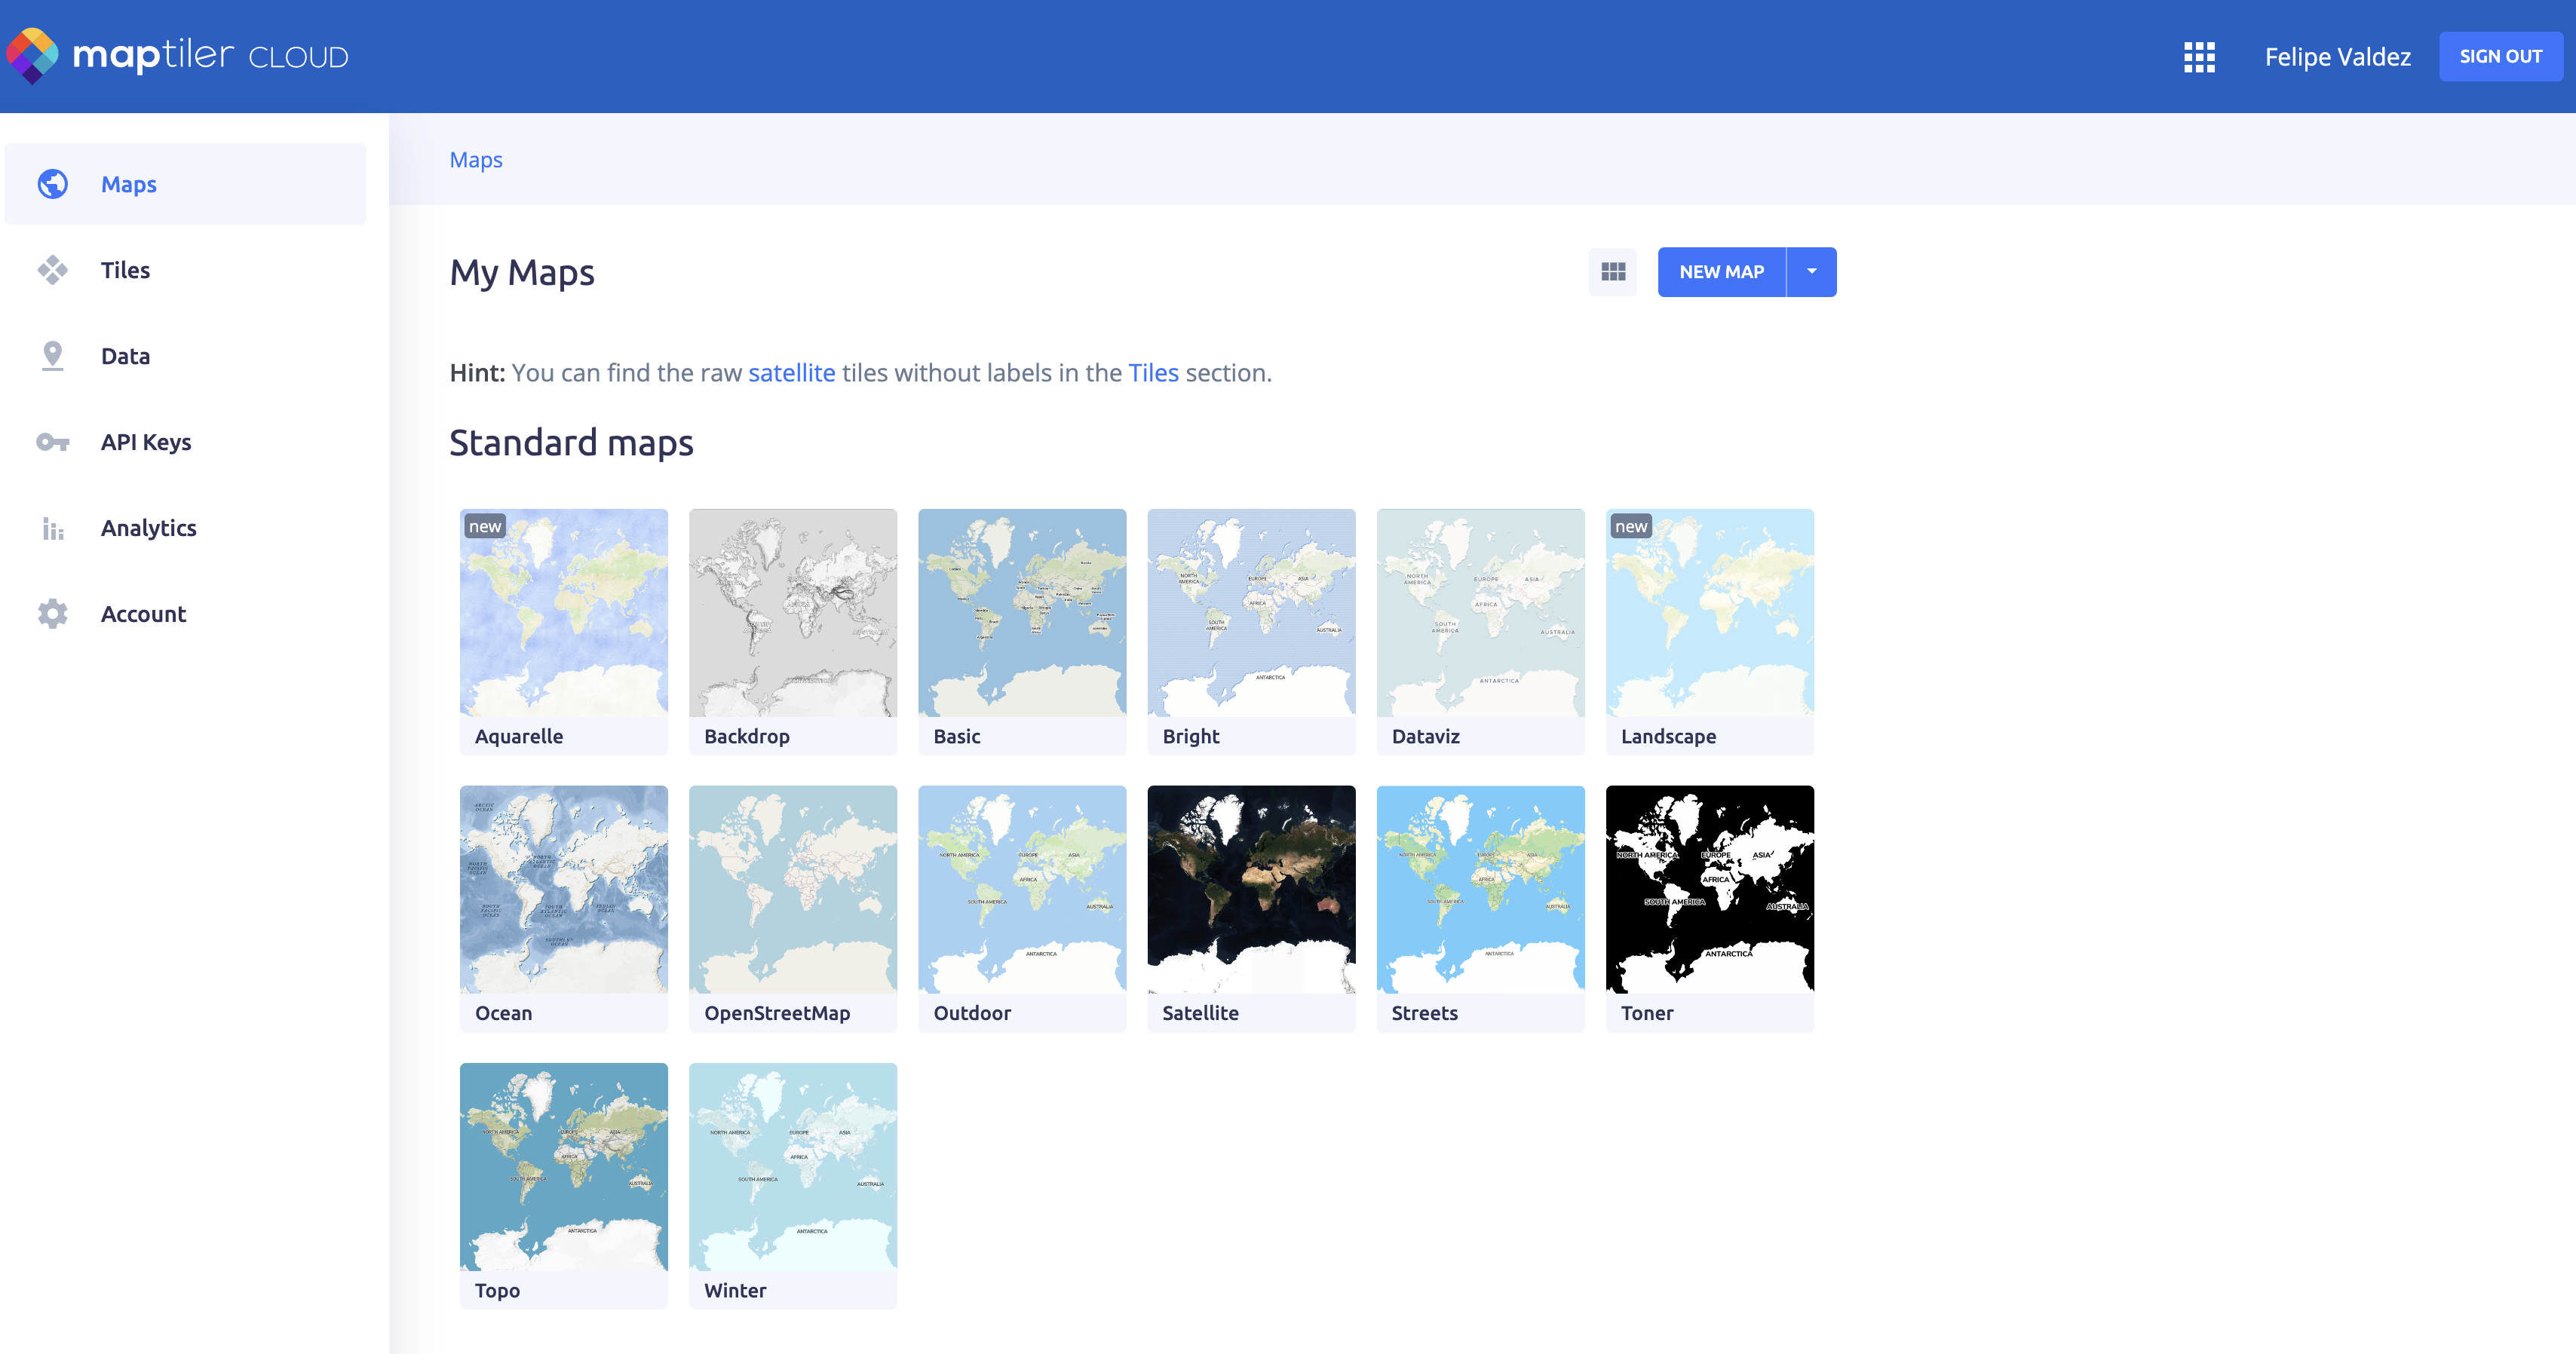
4 Creating a MapTiler account
MapTiler is a software platform for building digital maps. MapTiler maintains the OpenSource project OpenMapTiles that consists of a set of tools allowing everyone to create their own vector map tiles from OpenStreetMap data for hosting, self-hosting, or offline use. In this tutorial we will use MapTiler’s free plan to access their hosted vector tiles and use the OpenMapTiles style.
Step 1
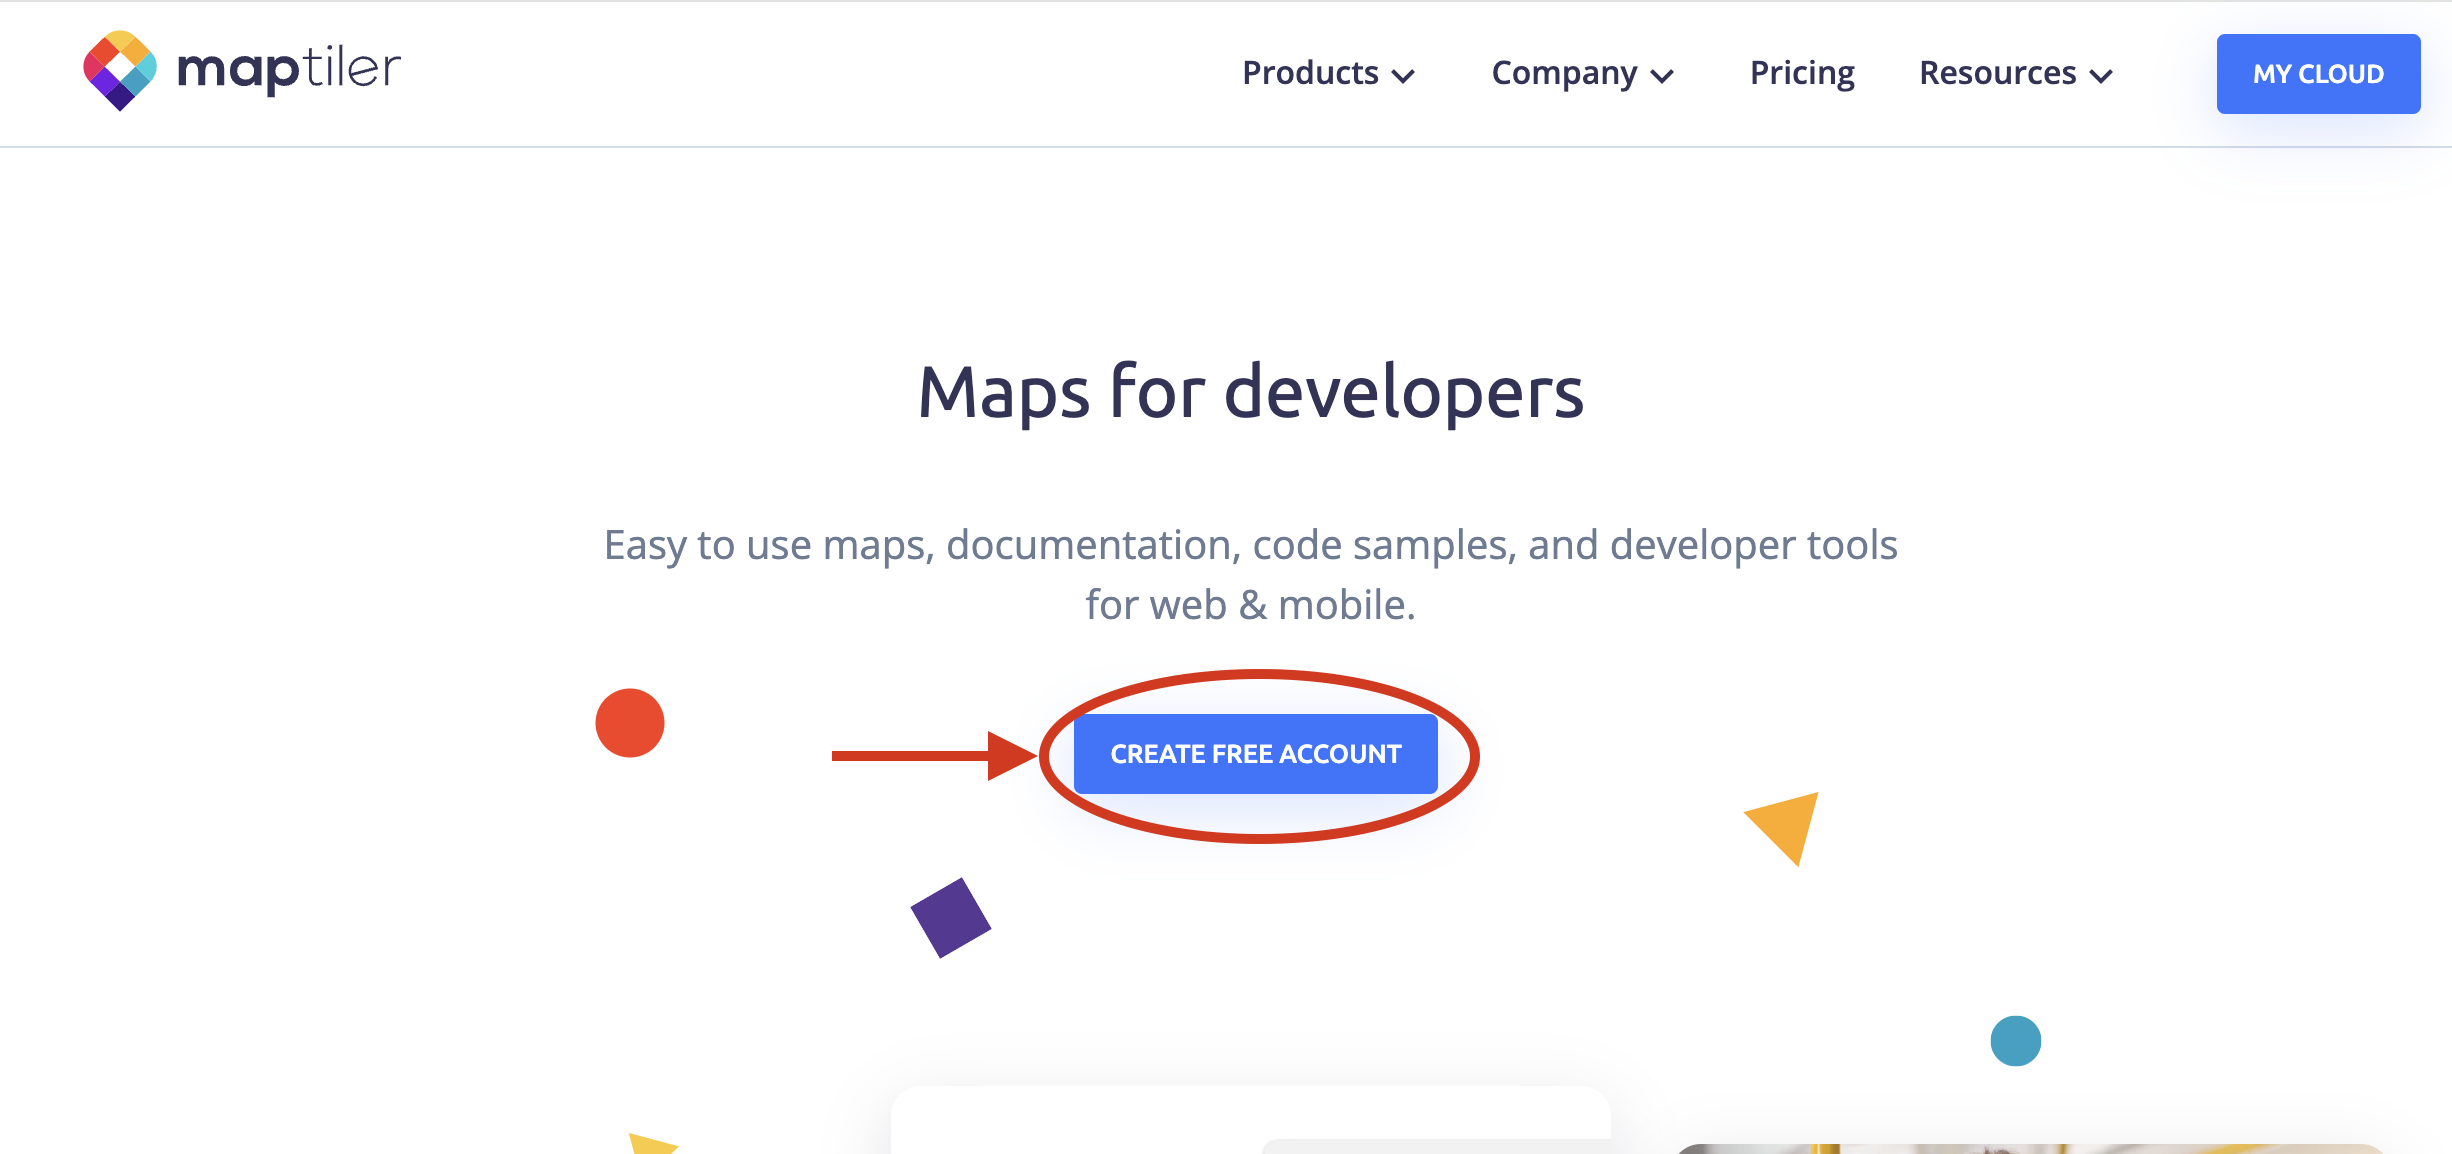
On your browser, go to MapTiler.com home page and click on Create a free account.
Step 2
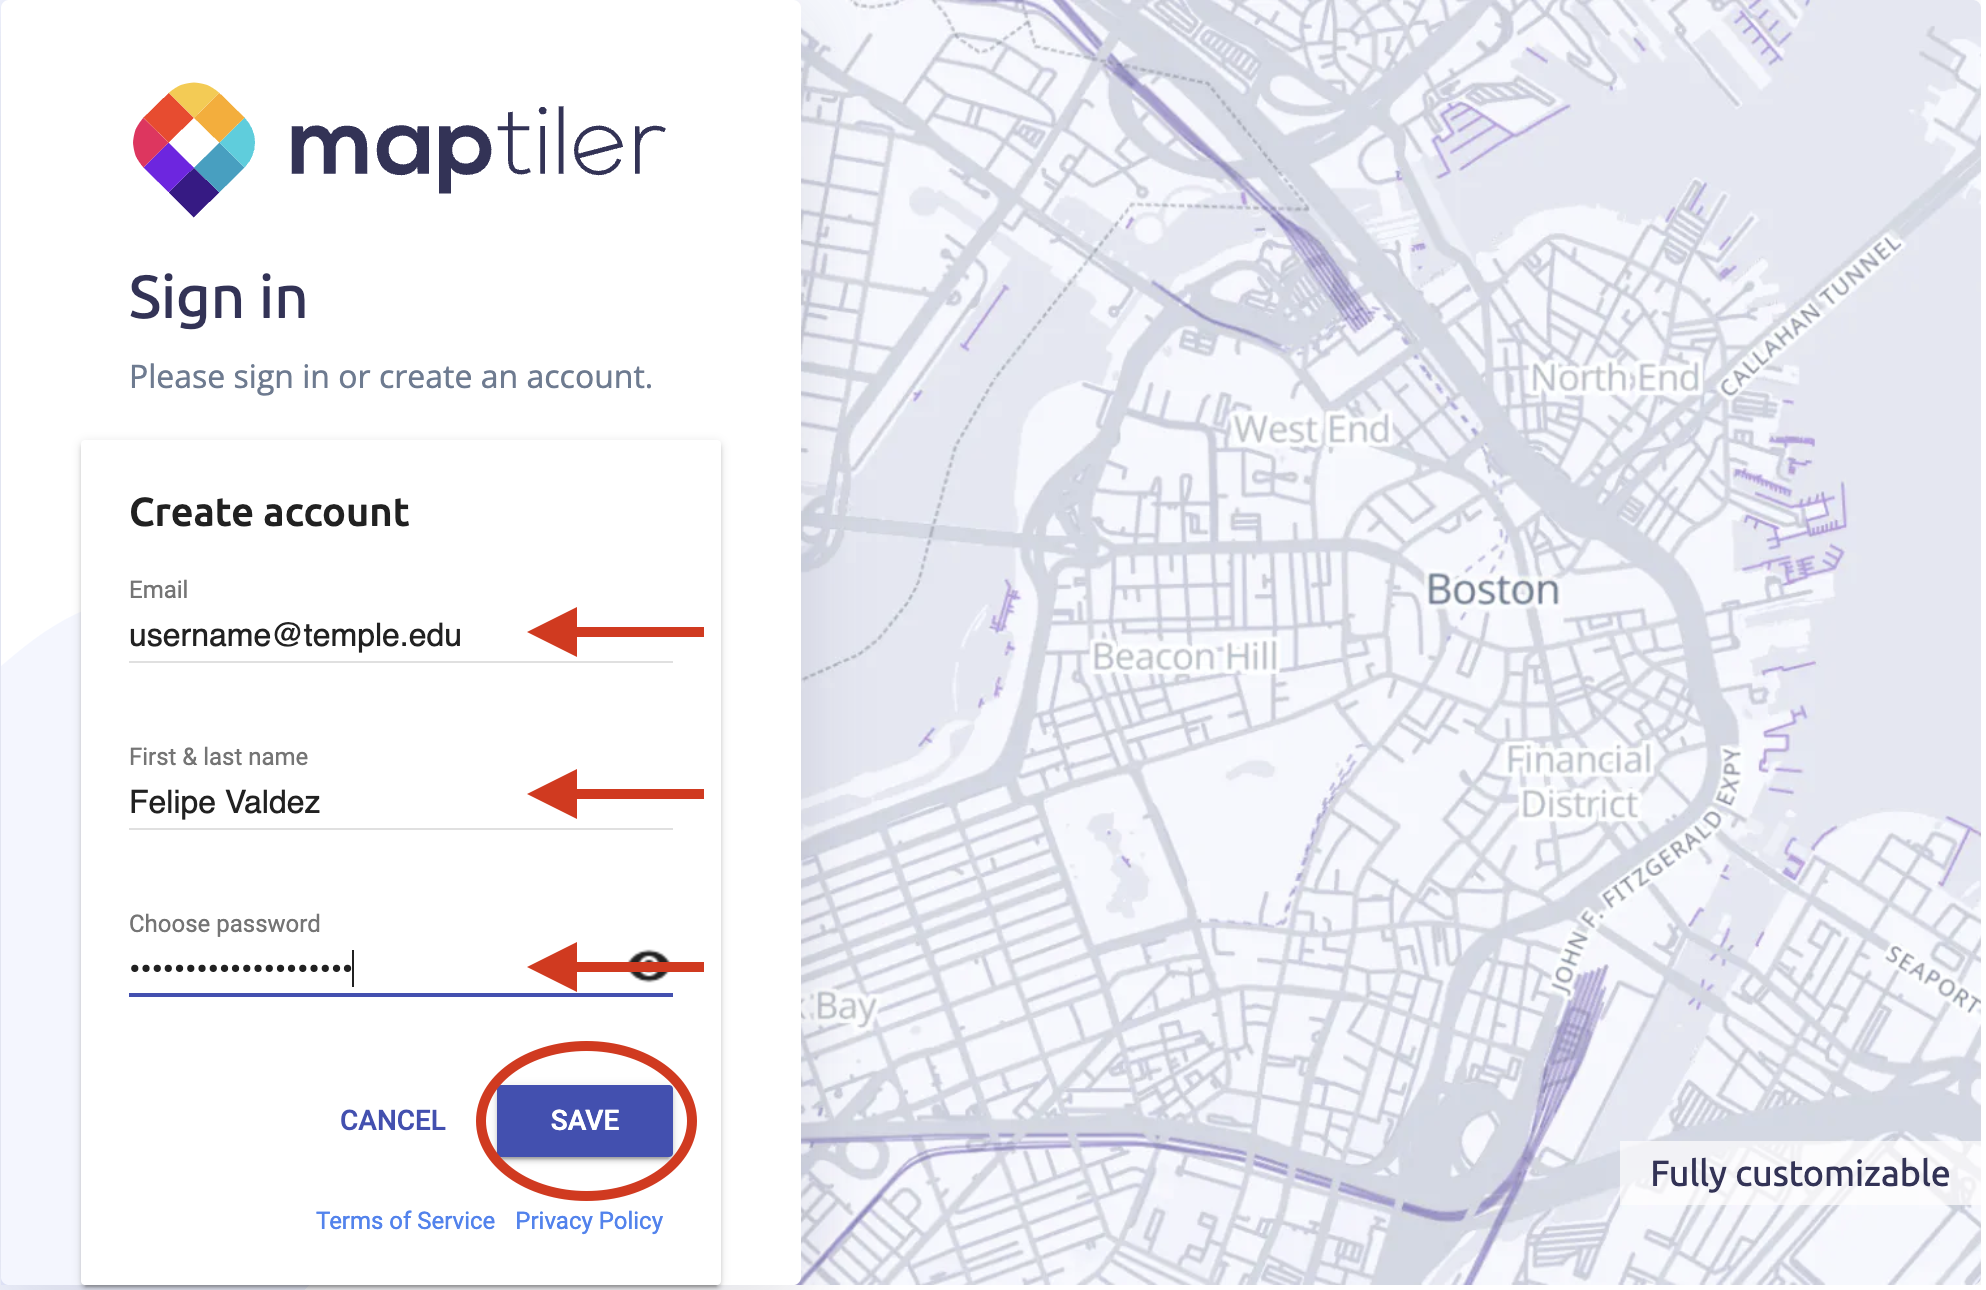
Sign in using your email address or your Google account if you have one. Type your name and a password for your account. Then click on Save to continue.
Step 3
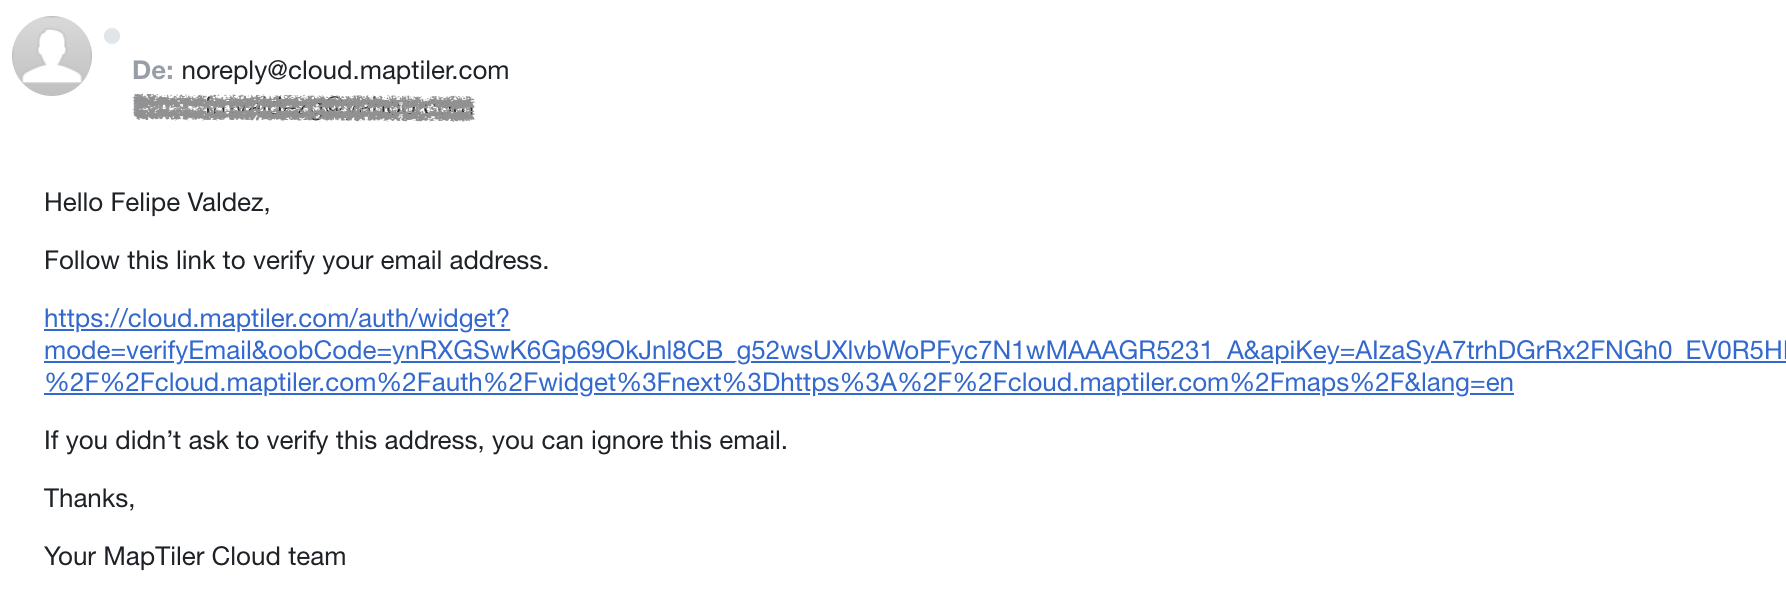
You will receive an email to verify your account. Click on the link the email to be redirected to your MapTiler account.
Now you can sign in using your email and the password you created in the previous step.
Step 4
You are now ready to start creating and using Maptiles and map styles in MapTiler